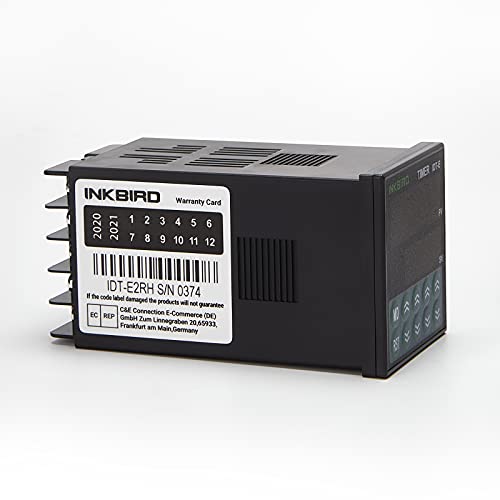
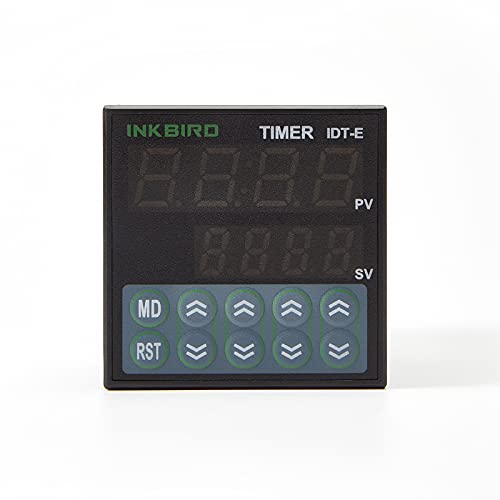
Inkbird Digital Cycle Timer Switch Preset Scale IDT E2RH Relay Tact NPN PNP Input Dual Function Register 100-240V Programmable Time Setting


Key features
- •0.01s-99h99m time range with twin timer set value individual
- •One shot or cycle time mode, up or down mode
- •NPN and PNP input switchable
- •Tact switch for up or down set value, easily operate
- •Output: 2 Relay
Inkbird Digital Cycle Timer Switch Preset Scale IDT E2RH Relay Tact NPN PNP Input Dual Function Register 100-240V Programmable Time Setting
List Price: $47.12$42.41DEALYou Save: $4.71 (10%)
Free shippingFree Returns – 30 daysFree Order CancellationSecure Payment2–3 Days DeliveryGet It June 23, 2026In Stock (1)No marketing spamNo account requiredFulfilment by FedEx / Amazon / UPS / ShipwirePayPal / Card Buyer Protection
Customer Reviews
Reviews sourced from verified Amazon purchasers4.4
out of 5
Based on 10 reviews
5★
70%
4★
30%
3★
0%
2★
0%
1★
0%
Five Stars
Jeffory Korson•July 28, 2017
Good device, quick response and would us again.
Four Stars
Audor•June 12, 2017
The directions could use some work, but I was ultimately able to get it to do what I needed.
easy, clean and nice timers
Amazon Customer•April 7, 2017
My friend has been using older pinned timers with a wire mess, to control his growing setup, so I got these two Inkbirds and wired them up with some 20 amp contactors, and receptacles in a nice box enclosure. Now He feels like heaven has opened up on to him they work so good, and what a clean setup it is now.
Great Timer to Pair with a Button
W. Giant•December 26, 2016
This relay is a dream come true for what I needed. But, as other have said wiring this up can be a real pain, and even the Settings guide is a bit difficult to read. I needed to be able to push a button and have a light come on while the timer counts down and go off when the timer hit zero. This relay absolutely can do this. Here's the wiring guide I used (adapted from FreeWeave's):
Power to node 9 and 10
Bridge node 7 and 9 with wire
Light Bulb to node 8 and 10 (or whatever you are powering)
Button between node 3 and 4 Ninth-City Ninth-City 16mm Nickel Brass Waterproof Push Button Start Horn Button Switch 3A 250V AC
To change the setting hold mode for 5 seconds, change each setting using the up and down arrows, tap the MD button to cycle through each setting value, hold mode for 5 seconds again when you're done to exit settings.
Here are the settings I used:
Unit: nin (for minute)
node (Mode): Down (timer counts down)
Enod (Time Mode): - - - - (This is "one shot" and supplies power while the timer counts down. Pushing the button restarts the timer)
In (Power Input): PnP (Cuts power after countdown reaches zero)
Lock: oFF (If you're timer will always be the same you may want to turn this on so it doesn't get changed by accident)
That's it, one working timer with a button, just what I needed.
Works great for button activated timer
Ryan Kennedy•September 26, 2016
This works perfectly for what I wanted. I needed to set up a timer that would provide power for a set amount of time after pressing a button. I wired up the power and load the way that freeweave suggested. Then I wired a button between pin 5 (0V) and pin 3 (reset). I put the timer in "one shot mode" and set timer A for the duration I wanted to supply power.
Page 1 of 2


