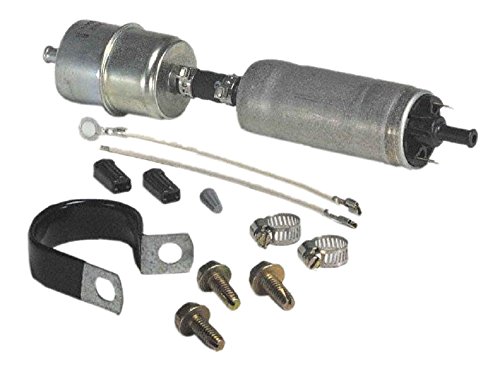
Genuine Hyundai 94460-0W000 Fuel Pump Sender Assembly

Key features
- •Authentic Original Equipment Manufacturer (OEM) part
- •OEM quality
- •Exact part that came with your car
- •Direct fit
Genuine Hyundai 94460-0W000 Fuel Pump Sender Assembly
List Price: $297.52$267.77DEALYou Save: $29.75 (10%)
Free shippingFree Returns – 30 daysFree Order CancellationSecure Payment2–3 Days DeliveryGet It June 23, 2026In Stock (2)No marketing spamNo account requiredFulfilment by FedEx / Amazon / UPS / ShipwirePayPal / Card Buyer Protection
Customer Reviews
Reviews sourced from verified Amazon purchasers4.2
out of 5
Based on 10 reviews
5★
80%
4★
10%
3★
10%
2★
0%
1★
0%
Perfect fitment
Amazon Customer•July 15, 2018
Oem part works good
Don't know what to say, but I installed this ...
Estoril73•January 27, 2018
Don't know what to say, but I installed this item into my car in hopes of fixing the common fuel gauge issue. However, the fuel gauge still fails to read accurately since the new Full mark is just above the half mark on the fuel gauge now. ¯\_(ツ)_/¯
It is a genuine Hyundai part. It fit perfectly
Gerry K•August 18, 2017
It is a genuine Hyundai part. It fit perfectly, and my fuel gauge is back to normal. Not much more to say about the part. This is the one for the passenger side or the B side mentioned by the code reader. The A side is behind the driver, and is attached to the fuel pump assembly. I will give you a hint. The way I understand it, they very often go out in pairs. Save yourself some headache and go ahead and replace both sides while you are at it. Even if one is still good right now, it won't be far behind. More tips if you are doing it yourself. There are videos on you-tube that help, Some of the videos say to remove the storage boxes behind the back seats. I found that to be unnecessary. It is probably harder than removing the seats. Just tilt the seats forward a bit and you can use a long extension to remove the back bolts easily. The fronts are easy access. When reinstalling, use someone with thin arms or put some tape on the bolt heads to keep them in the socket when reinstalling them if your arms are too big to fit in the space. Use a vacuum to suck up the dirt and debris around the lock ring before removing it. Finally, and most important, spray a little silicone spray lube around the lock ring, make sure it gets underneath to the o-ring seal also. Use the little red wand. Then let it soak in for a bit then tap the ring LIGHTLY with a rubber hammer or something to work the oil in. This makes it 10 times EASIER to remove the lock ring!!! Believe me! Especially if you didn't buy the tool. I didn't. You see in the videos, they talk about breaking the tool it is so tight. They also say pry up on the locks. Blah blah blah! The problem is that the rubber seal is dragging on the ring. It is like if you take a sneaker, set the sole flat on the floor, push down and try to drag it across the floor at the same time. It is the same thing. I hope this helps.
Five Stars
Shelia Derrick•June 1, 2017
Works great!
Worked well, watch the install direction
Kevin•May 26, 2017
Were in good working order, when received. Take special note of the direction that you installed these. The first go around we accidentally installed them upside down.
Page 1 of 2