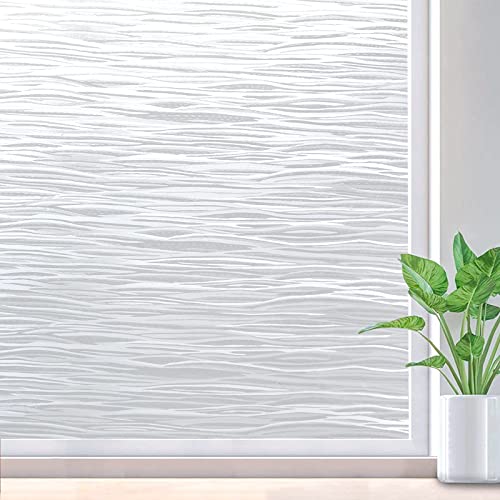
Gila Heat Control Light Gray Adhesive Residential DIY Window Film Sun Blocking 3ft x 15ft (36in x 180in)


Key features
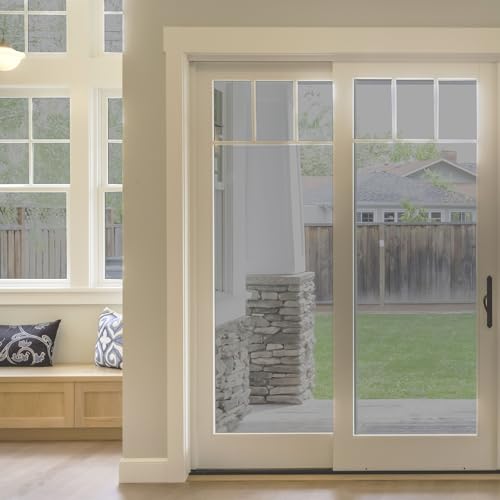
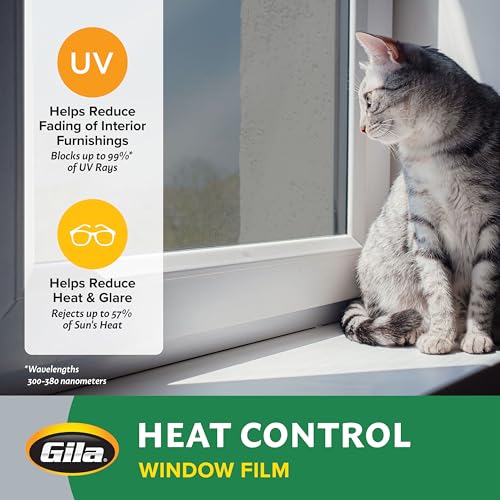
- •Cuts cooling costs up to 30 Percent
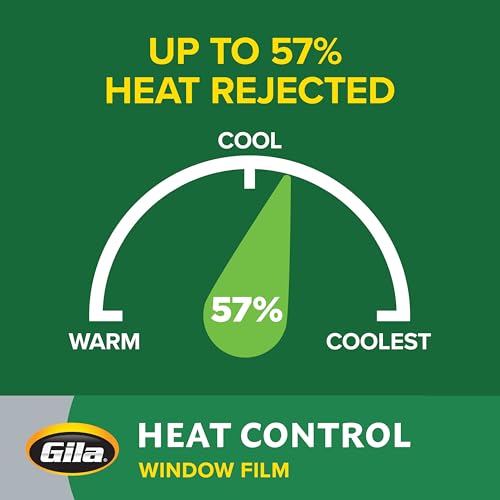
- •Total solar energy rejected is 60 Percent
- •Rejects up to 91 Percent of UV
- •Rejects up to 56 Percent glare
- •Reduces fading of interior furnishings
BrandGila
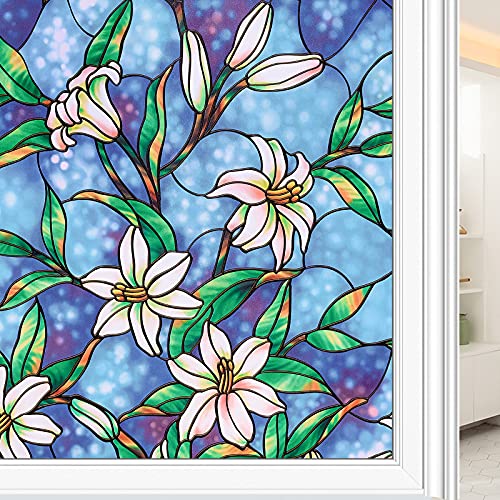
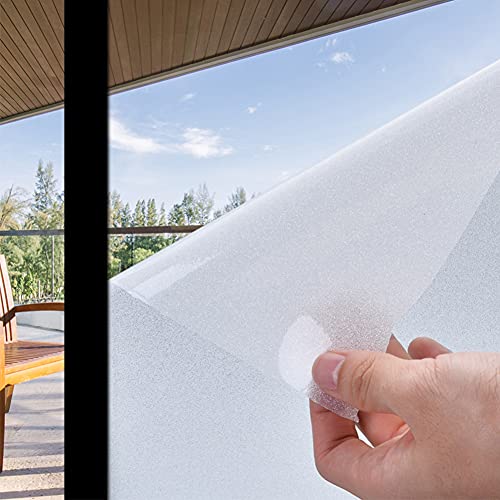
CategoryWindow Films
Size36" x 15'
ColorGray
WarrantyLimited warranty against manufacturing defects. Replacement at no charge with submission of valid warranty claim.
Gila Heat Control Light Gray Adhesive Residential DIY Window Film Sun Blocking 3ft x 15ft (36in x 180in)
List Price: $69.82$62.84DEALYou Save: $6.98 (10%)
Free shippingFree Returns – 30 daysFree Order CancellationSecure Payment2–3 Days DeliveryGet It June 24, 2026In Stock (10)No marketing spamNo account requiredFulfilment by FedEx / Amazon / UPS / ShipwirePayPal / Card Buyer Protection
Customer Reviews
Reviews sourced from verified Amazon purchasers3.7
out of 5
Based on 10 reviews
5★
60%
4★
10%
3★
10%
2★
10%
1★
10%
Quality depends on user
Dogs-plants-yoga✓ Verified Purchase•January 4, 2018
I actually liked how this turned out. I did it myself with no help. BUT I don't recommend it and would never want to try a larger window because:
-when it sticks to itself you can't get it undone, you have to start over
- the corners were hard to get just right. I used a razor. Maybe an exacto knife would have worked better, or the one in the kit
- the sticker on the product ruined the first few inches of the film and therefore the nice factory edge
- it's very prone to rolling which is a real pain.
- does not come with "kit"
TIPS: (after two tries)
- WATCH A VIDEO! Follow the vid step by step.
- make sure you know which side is the liner and lay it out with that side up. It's hard to tell and the instruction in the product I received were reverse from the video.
- I didn't buy the kit. I followed advice online and used a dish of Dr. Bronners hemp/baby soap in lieu of the application spray. I applied it gereoualy with a microfiber cloth and it worked. I used a credit card instead of a squeegee and "hard card" (?? something mentioned in the vids) I was totally satisfied with result, even though it wasn't "perfect."
- I got some dog hair stuck in there, inevitably and it still looks fine.
It took us two people but looks great!
Rachel McBurney✓ Verified Purchase•November 15, 2017
We finally installed this on our windows. It looks great! I didn't buy the application kit. Instead I used a water bottle with a few drops of dish detergent, the squeegee from my car, a credit card, and a utility knife. My husband and I worked together.
1) Start with a clean window! Use a razor to scrape the window clean.
2) Husband held the film to the window while I rough measured the size, cut the section away from the roll, removed the backing and wet down the window.
3) Husband then dangled the film in front of the window until static pulled the middle of the film to the glass. The film then sucked itself onto the window with very few bubbles left to remove. At that point, he could let go and the film would stay put.
4) We then sprayed the top of the window film and began using the squeegee to push the water and bubbles under the film to the edge of the window. Spraying the top with water lets the squeegee move smoothly with even pressure. (If after removing the bubbles, it doesn't look right, you can still peel it away from the glass and try again before you start trimming.)
5) Using the credit card we would push the film tight into the corners and use the knife to cut away the excess trim.
6) We squeegeed the surface one more time to make sure we got all the bubbles out of the corners and made sure all the edges of the film were flat against the glass.
Done! It's wet work so make sure to have a towel nearby. The film does help keep the room a little cooler. I really appreciate the UV protection!
I was very pleased with it.
Disappointed
LadyBlue✓ Verified Purchase•July 8, 2017
I have installed other window films that were beautiful, easy to work with and very reliable. This was a nightmare from the beginning. After meauring and cutting, I pulled off the backing to the film and the film immediately began to attach to itself and stuck together. Other films I've had do not stick like tape like this did. I had to try to pull it apart and cracks started to appear on the film. A sticker with company name was stuck to the film and had to be scraped off.I sprayed the solution as directed on the clean window to install and it was so difficult it broke my squeegee! I had to use a credit card and it wasn't the greatest. I wish I could return this but I no longer have the packaging. I am so disappointed.
It really works!
Bloomy✓ Verified Purchase•June 26, 2017
This film has made such a difference in the temperature of our house! Our house faces east and in the afternoon/evening the sun blasts through our large bedroom window as well as our sliding glass door in our dining room. Going into these rooms at all was almost unbearable through the summer months. We installed this film and couldn't be happier with how much heat reduction there as been.
The installation itself was rather easy. We started with our sliding glass door, afraid it would be the most difficult because of its size, but as long as you use a lot of moisture it goes on easier than we expected. The most difficult part of the process was just when you peel off the film from the plastic protector and being able to hold that large of a piece without having it stick to itself. Even when it did, though, we could carefully pull it apart.
We purchased the installation kit with this, and I would say it was worth it. The only other tool needed was a squeegie that we had in our shower already anyway. It was a cheap one from IKEA and it worked just fine.
I will say that we started in the early afternoon when the sun hadn't hit these windows yet. The glass door was, as mentioned before, an easy installation. Then we did another kitchen window, and then moved upstairs to the bedroom window. By then the sun was hitting the window and there were little pockets all over the window that looked like air bubbles. After reading on their website, we realized they were actually full of water/spray. We waited until the next morning and redid the window (same film, just peeled it off and redid the installation) and there were still a few water pockets but not as many. After 24 hours, though, they were completely gone and you can't tell at all that they were ever there. Being that we didn't have this problem downstairs I think it was because it was installed in direct sunlight.
Overall, we did the sliding glass door, one small kitchen window and one large bedroom window (twice) and it probably took us 2-2.5 hours to do it all, including time to watch the youtube videos and figure out exactly what we were doing.
So, I give this product 5 stars. We have seen lower power bills and lower discomfort levels in our home... couldn't be happier!
So far so good! It isnt hot yet but can already tell ...
Alicia V✓ Verified Purchase•February 16, 2017
So far so good! It isnt hot yet but can already tell its cooler by the windows I have covered. I have applied vinyl many times so I figured this would be very easy and it was. I only bought thr film, nothing else. I made my own application solution with baby soap and water. Then I used a tape measure, scissors, box cutter, vinyl squeege, pen and the side of the box since I didnt have a big ruler for a straight edge. Make sure the window is very very clean. When I did my kitchen window I cleaned it several times and still missed little specks, its next to my sink and gets splatters. I have done three sets of windows with two boxes by myself without any problems. Make sure you wet the window and both sides of the film very well. Stick about an inch or two all along the top and slide your hand down the middle, use the squeege and move from center out. Do not be afraid to peel back and start over or just pull back a big section on a corner. If you cant glide the squeege over the top easy add more application solution on top. Use a razor to trim and you are done.
Page 1 of 2