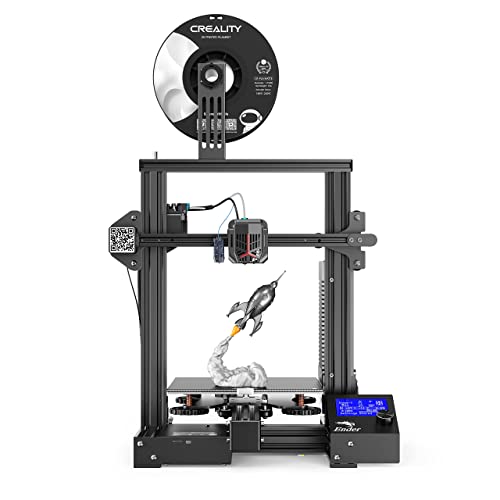
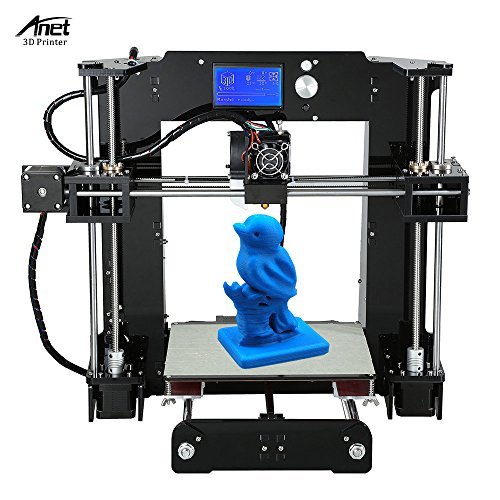
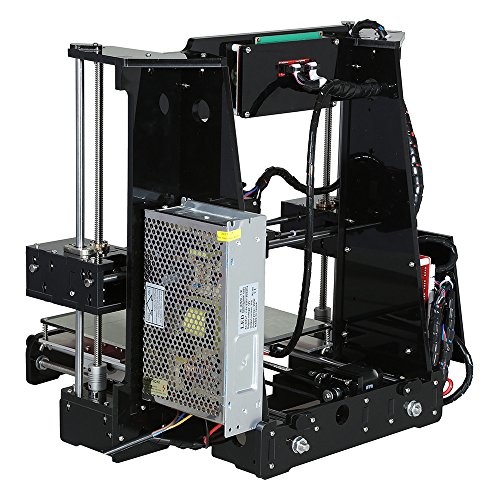
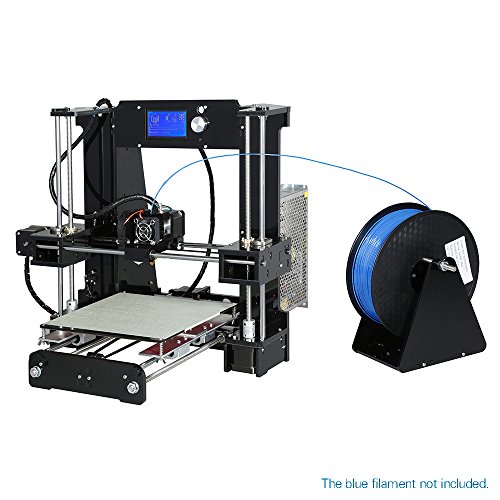
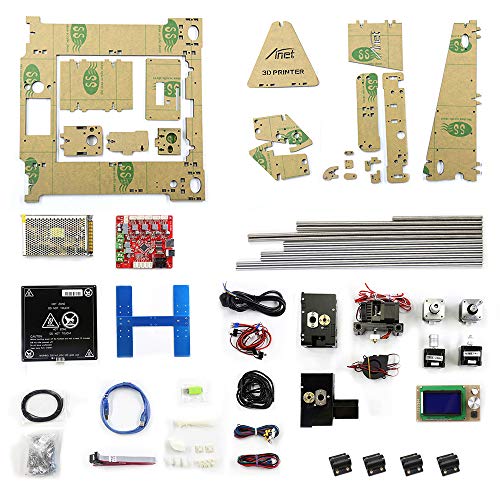
Anet A6 High Precision Big Size Desktop 3D Printer Kits Reprap Prusa i3 DIY Self Assembly LCD Screen



BrandAnet
Category3D Printers
Anet A6 High Precision Big Size Desktop 3D Printer Kits Reprap Prusa i3 DIY Self Assembly LCD Screen
List Price: $247.34$222.61DEALYou Save: $24.73 (10%)
Free shippingFree Returns – 30 daysFree Order CancellationSecure Payment2–3 Days DeliveryGet It October 25, 2026In Stock (3)No marketing spamNo account requiredFulfilment by FedEx / Amazon / UPS / ShipwirePayPal / Card Buyer Protection
Customer Reviews
Reviews sourced from verified Amazon purchasers3.6
out of 5
Based on 10 reviews
5★
60%
4★
10%
3★
20%
2★
10%
1★
0%
Very hard to get the extruder and the hot bed ...
Cheryl•April 15, 2018
Very hard to get the extruder and the hot bed aligned properly. We have not been able to print anything out that resembles what it is suppose to be... The are no written trouble shooting and the You tube videos do not give the information needed.
Not too bad of a build
Amazon Customer•April 13, 2018
If you are going to start 3d printing and want this as an entry level printer don't do it. go with the cr-10 mini . Please read . On with my review and why. Took me about 3 hours to get it all together. Not too bad of a build. I've been 3d printing for a long time and I know 100 percent this thing will not print well on first assembly. Axis rods are way too sloppy. Can move the bed almost 3/16 of an inch up and down . No big deal tie strap the axis rod to the thread rod right below it. The belt angle on the hot bed is horrible. A 5mm spacer to bring it down level would be so simple to add on and make a huge difference. When the hot bed reaches the limit switch the angle of the belt causes the bed to pull down and the servo motor strains to hit the limit. Also easy upgrade and fix. The bad part of the design is the hotbed doesn't travel straight due to the sloppy axis and overall design of the printer. Mount the printer to a piece of wood and you will be ok. Overall its not a horrible design . No Bowden tube to guide the filament really limits the position of the spool. Adding a fused on off switch is a must. The printer always pulls power when it's plugged in. I got a half way decent first print but HERE IS THE BIG PROBLEM... the thermistor falls out of the hot end half way through the second print. The control board then cranks up the power to get the temp to reach 200 but the thermistor hanging out read 120 degrees . It almost caught fire and smoked out my whole room before I had a chance to unplug it. When it cooled down I went to remove the hot end and noticed the 40mm tube is bent really bad straight from the factory. I had to buy a new hot end with thermistor and have emailed the manufactured . I'm going to include some pictures. New 40mm teflon coated tube. Throw in the on off switch and upgrades needed to get a decent print and it's easily a $300+ printer. I got my cr10 and my cr10 mini . Put about 6 bolts in leveled the bed and have over 300 print hours combined successfully with them and all original parts still. I'm very torn. I like this printer and it looks nice but the thermistor falling out, the bent hot end I didn't notice right out of the box. The upgrades and time needed to get it stable seriously are leaving me with buyers remorse and have me honestly wishing I'd bought another solid ready to print printer. I'm considering sending it back. Having that thermistor come out and the amount of smoke in my room I will not be leaving thison unattended at all ever.
Received and built 3d printer in about 8 hrs. ...
Marion•April 12, 2018
Received and built 3d printer in about 8 hrs. Once started up noticed the LCD screen was defective missing a complete row.
Awesome starter!
S. Smith•March 22, 2018
I have used many different 3D printers from industrial additives to SLA. This printer is more like the possesed skeleton of an Ultimaker quality printer. Some enthusiats would probably argue with me and say that the components are nowhere near that level of quality, but this is my review and I will tell you want my experience has been.
The package came and from reading a few reviews I was a little nervous that the box would contain missing and broken items. This was not the case. In fact the printer was packaged so well that I doubt, aside from a middle man messing with the product before it arrived at your door, the printer would ever be messed up or damaged from the company.
Building the machine took 2 hours and 37 minutes. Before the build I inspected each part for probable defects or future problems. Reminding myself that I spent $240.00 on this product I knew that there must be cheap and defective parts and was ready to accept that challenge. Here is what I noted:
1. The linear bearings came pickled. It makes sense, the production company doesn't know how long the product may stay shelved. Easy fix, I used solvent to clean the preservitive out of the bearings and medium air blasted them dry. After they dried I hand packed them with synthetic grease. The instruction video did not mention this as a requirment, but... I couldn't help myself.
2. In the installation of the Y stepper one of the mounting holes was, what I thought was stripped. Under further investigation, it was not threaded to begin with. Honestly, this has happened to me before when I built a CNC mill. I ordered a NEMA 24 dual shaft from an American company and one of the mounting holes was not threaded. Simple fix, used a tap and cut a new thread. Honestly, it could have been left and the motor would have been perfectly stable without that mounting screw. (The other three where great)
3. The X-Axis belt mount was shared by the nozzle thermo wiring... This may have been just the way they secured it for packing, but this is a no-no. Simple fix, re-routed wires in different direction.
After the completed build, the machine was quite simple to calibrate. After about 30 minutes of configuration I was printing a test peice. I did not know what the pre-loaded gcode was but I thought it would be fun to see what happened. After a 45 minute print a bust of Shia LeBouff appeared. Although the print was not mind blowing... It was impressive. After making a few temp changes and cutting the speed by 10 percent... The next print my brain exploded out of my eyeballs. It was one of the best prints I have seen!
Long story short, this was a great purchase. As with all low budget priducts I am sure that as time goes on that components will fail. But the fact is, it's an opportunity to make a small investment better step by step. And it's completely upgradable.
You cannot beat what you get for the price... Speaking of price, I chose to pay a little more just for the Amazon backing and the ability to return it. Thanks!
The package came and from reading a few reviews I was a little nervous that the box would contain missing and broken items. This was not the case. In fact the printer was packaged so well that I doubt, aside from a middle man messing with the product before it arrived at your door, the printer would ever be messed up or damaged from the company.
Building the machine took 2 hours and 37 minutes. Before the build I inspected each part for probable defects or future problems. Reminding myself that I spent $240.00 on this product I knew that there must be cheap and defective parts and was ready to accept that challenge. Here is what I noted:
1. The linear bearings came pickled. It makes sense, the production company doesn't know how long the product may stay shelved. Easy fix, I used solvent to clean the preservitive out of the bearings and medium air blasted them dry. After they dried I hand packed them with synthetic grease. The instruction video did not mention this as a requirment, but... I couldn't help myself.
2. In the installation of the Y stepper one of the mounting holes was, what I thought was stripped. Under further investigation, it was not threaded to begin with. Honestly, this has happened to me before when I built a CNC mill. I ordered a NEMA 24 dual shaft from an American company and one of the mounting holes was not threaded. Simple fix, used a tap and cut a new thread. Honestly, it could have been left and the motor would have been perfectly stable without that mounting screw. (The other three where great)
3. The X-Axis belt mount was shared by the nozzle thermo wiring... This may have been just the way they secured it for packing, but this is a no-no. Simple fix, re-routed wires in different direction.
After the completed build, the machine was quite simple to calibrate. After about 30 minutes of configuration I was printing a test peice. I did not know what the pre-loaded gcode was but I thought it would be fun to see what happened. After a 45 minute print a bust of Shia LeBouff appeared. Although the print was not mind blowing... It was impressive. After making a few temp changes and cutting the speed by 10 percent... The next print my brain exploded out of my eyeballs. It was one of the best prints I have seen!
Long story short, this was a great purchase. As with all low budget priducts I am sure that as time goes on that components will fail. But the fact is, it's an opportunity to make a small investment better step by step. And it's completely upgradable.
You cannot beat what you get for the price... Speaking of price, I chose to pay a little more just for the Amazon backing and the ability to return it. Thanks!
Missing items—- updated
James•March 5, 2018
Missing parts
Update"” after a trip to the hardware store and a couple of bucks it's a good printer for the price. Even though I could have save $100 by ordering it from anet3d but I didn't want to wait
Update"” after a trip to the hardware store and a couple of bucks it's a good printer for the price. Even though I could have save $100 by ordering it from anet3d but I didn't want to wait
Page 1 of 2